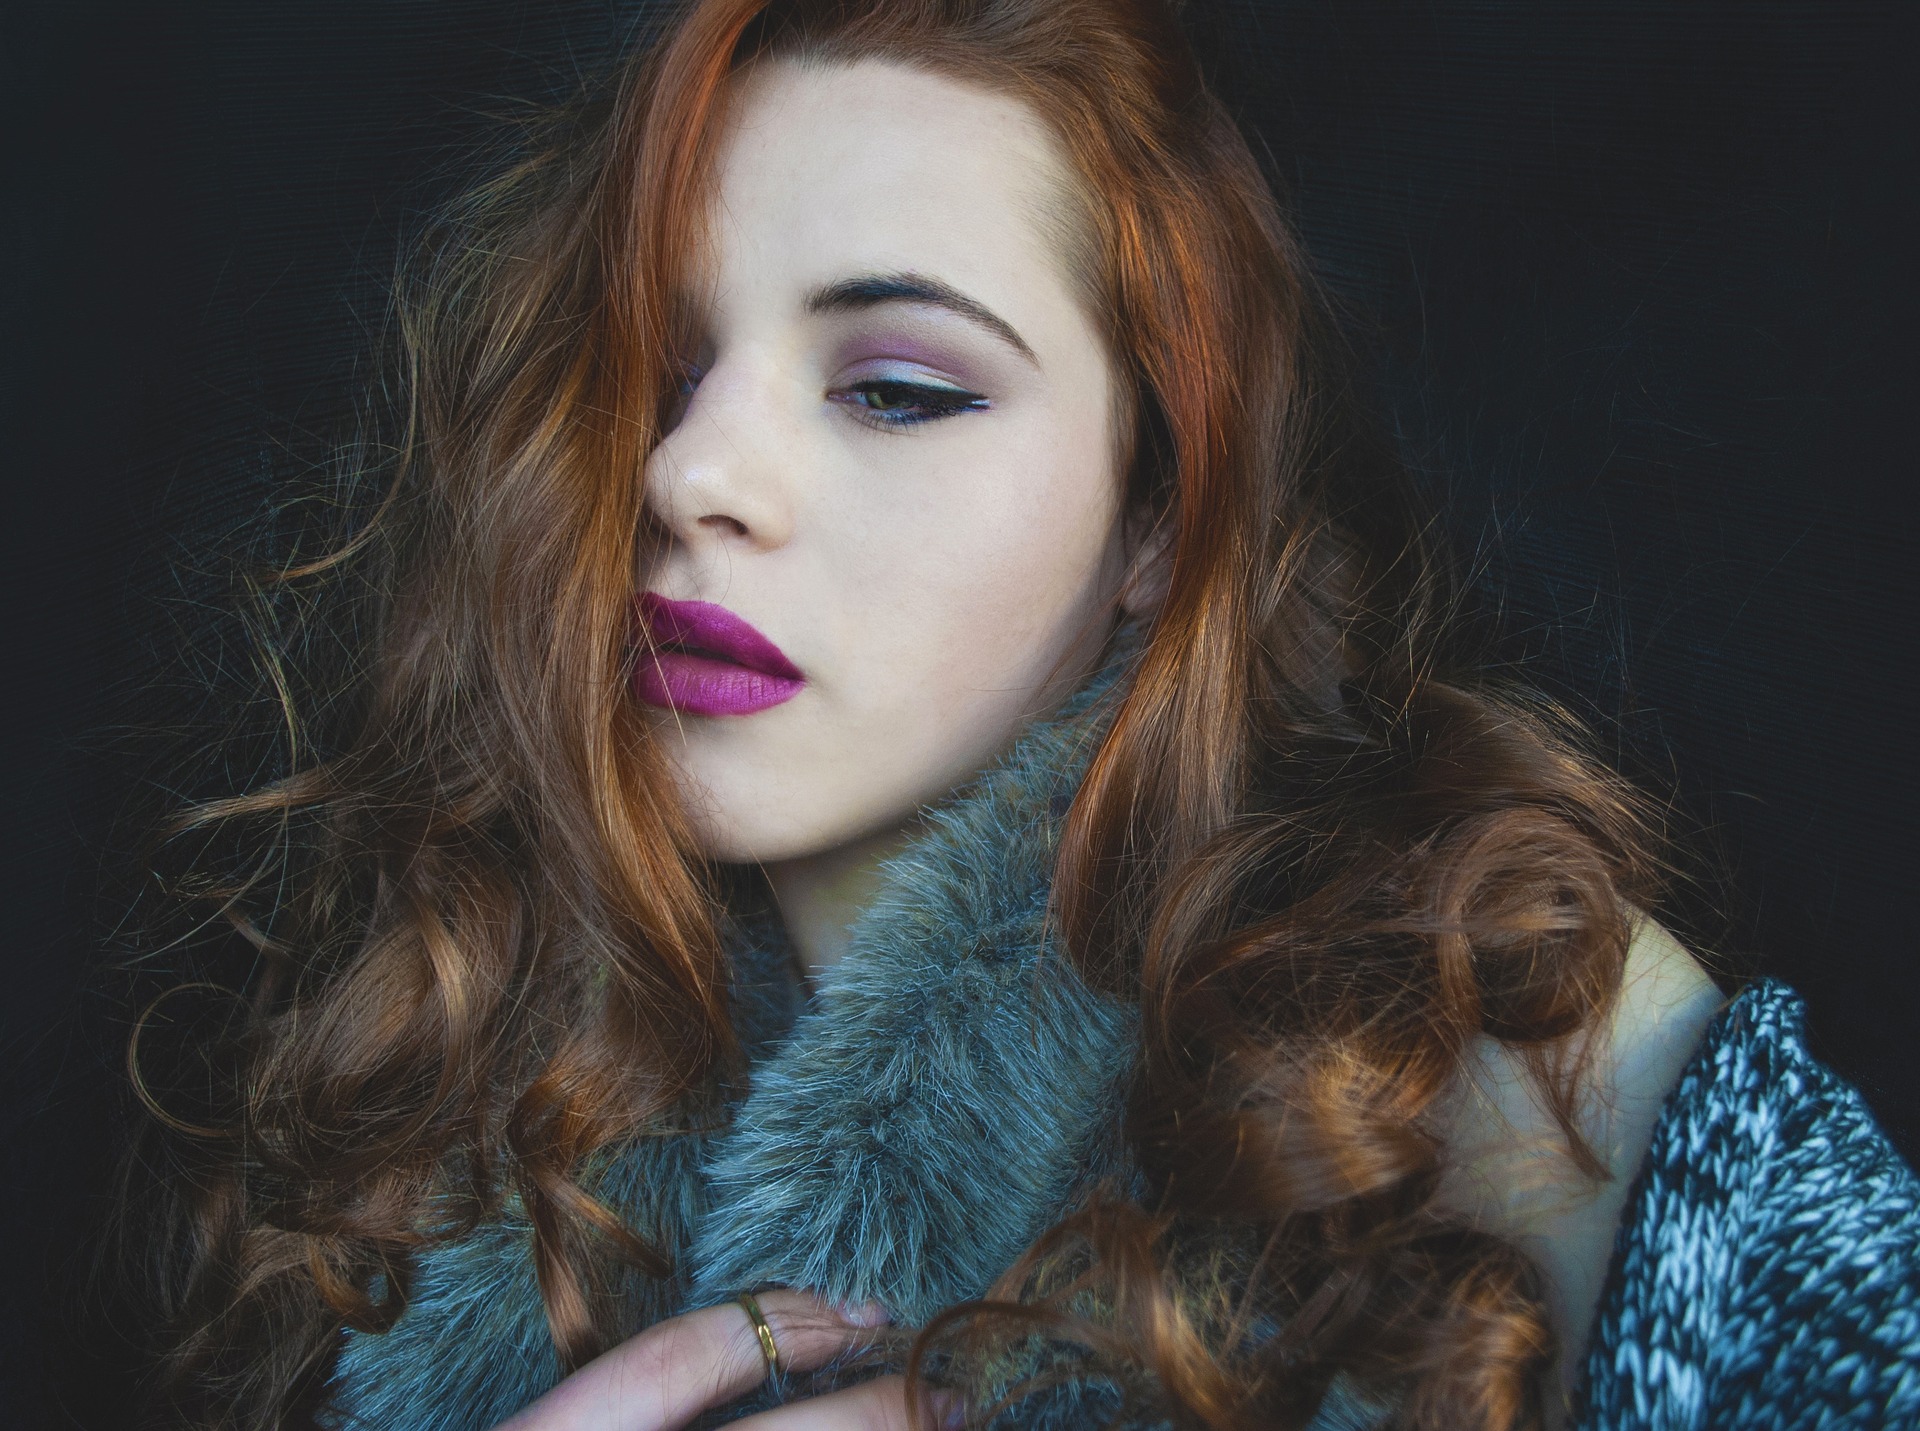
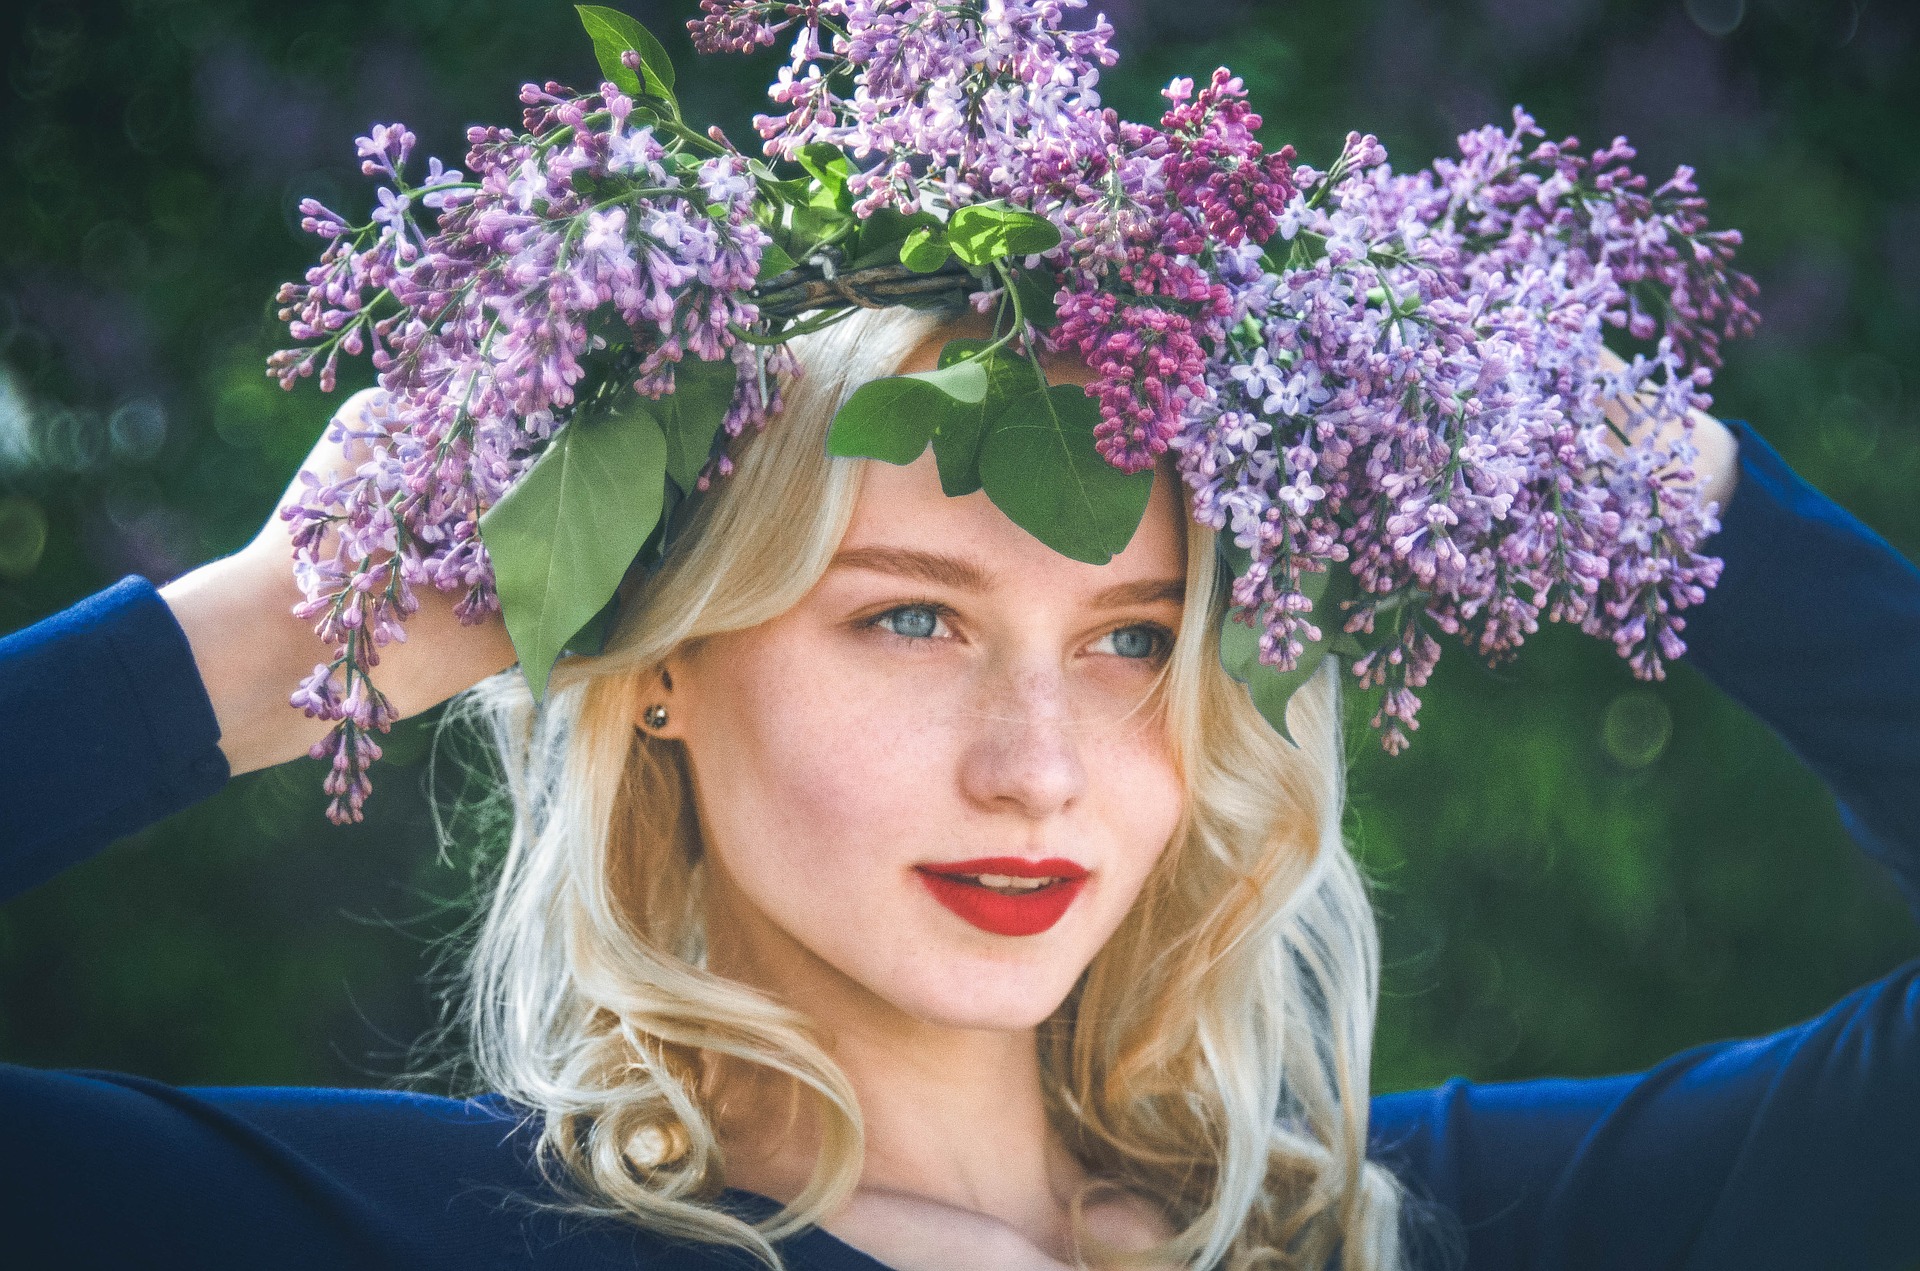
Beautiful bouncy curls never go out of fashion, and they never stop being the first step towards a fabulous hairstyle either, regardless of the look you’re going for. Creating curls with heated rollers adds weight, volume and texture to even the finest hair so if you’re keen to create gorgeous hairstyles, correct roller setting is one thing that you absolutely must get to know like the back of your hand.
Heated rollers are a fantastic piece of hairstyling equipment and these alone can result in a variety of different styles. There are multiple ways that you can use heated rollers for different types of curl and finish, and knowing these simple tricks can make your life as a hairstylist, whether professional or amateur, a whole lot easier.
Whether you’re going for a big, red carpet curl, a tight, vintage look or a loose Boho wave, heated rollers can do it all!
To help you on your way to putting together really amazing hairstyles, here’s a quick run-down of how to use heated rollers:

Heated Rollers: Traditional Setting
First thing’s first, the length of the hair you’re working with will of course change the way the curls look (short hair often instantly looks more vintage, whereas long hair tends to look big and glamorous) and so will the size of the rollers you’re using. For a tight, spiral curl you’ll want to use the smaller rollers and for looser curls, go for the medium to large rollers.
Part your hair into sections and start with the very front ‘fringe’ area. Make sure that the section of hair fits neatly onto the rollers and doesn’t spill over the sides, for best results. For each section, spray liberally with hairspray before and after rolling for great hold.
Hairstylists used to roll rollers up from the bottom of the hair, but things have come a long way since rollers were first developed and now some of the best hairstylists will start closer to the root (with an inch or two gap) and then wind the hair around the roller until the entire length is wrapped. Give a final roll at the end to get that roller sitting on the scalp and pin into place. This technique will give you a less ‘bottom heavy’ curl as well as providing a little extra ‘oomph’ at the roots.
Move on to the sections behind the ears and then down the back of the head. Use heat proof gloves to make the styling easier and avoid burning your fingers! Continue this all over the head, following a roller setting pattern, making sure to tuck those little ends of hair in when you reach the tip to avoid any kinks.
Leave the heated rollers in place until they have completely cooled. Once they have, remove them one by one, starting at the back and bottom to avoiding messing up your curls.
Rake through gently with your fingers to loosen the curl. If you’re wanting to go for a Hollywood wave, smooth out the curls with a paddle brush.
Finish with a fine mist hairspray for long-lasting hold.

Some Heated Roller Top Tips
My favourite rollers are The O Pod by Cloud Nine. They’re on the pricey side, but they are amazing and heat instantly, so no waiting around.
If you want a loose, tousled curl with less volume, try setting the rollers vertically rather than horizontally.
For a less perfect and more ‘rough edged’ curl or wave, skip the hairspray to finish and instead use dry texturizing spray.
Always allow heated rollers to cool completely before removing.
Use big rollers on top and smaller ones underneath for a style that lasts.
Always roll away from the face at the front, but if you want a more natural looking curl feel free to alternate the direction throughout the hair.
Use your fingers to gently rake through the curls when you first remove your heated rollers, and then use a paddle brush to smooth out further if you wish.
For a really glamorous look, go for a deep side parting with your curls. Want a look that’s a bit more contemporary and Boho? Stick to the middle.


